Installing GNS3 in VMWare Workstation 17 Pro in Windows 11
1. Download & Install VMWare Workstation 17 Pro
It is now free. See VMware Workstation Pro: Now Available Free for Personal Use
You will need a Broadcom account, which is also free. Here you can get your account created Broadcom Support Portal
Here the link to VMware Workstation Pro Download
At the time of the writing
1
2
Product: VMware® Workstation 17 Pro
Version: 17.5.2 build-23775571
2. Download GNS3 VM.ova
It can be downloaded from GitHub GNS3/gns3-gui and look for the latest release.
In my caes, I downloaded GNS3.VM.VMware.Workstation.2.2.48.1.zip
3. Import the OVA in VMWare Workstation
In VMWarw Workstation go to File > Open and follow the wizard.
Use this guide Ch10_VMware_GNS3_install_integrate_and_tshoot_VTx_v1.1.pdf
4. Download and install GNS3 installer
It can be downloaded from GitHub GNS3/gns3-gui and look for the latest release.
In my caes, I downloaded GNS3-2.2.48.1-all-in-one.exe
Follow Ch10_VMware_GNS3_install_integrate_and_tshoot_VTx_v1.1.pdf
5. Start GNS3
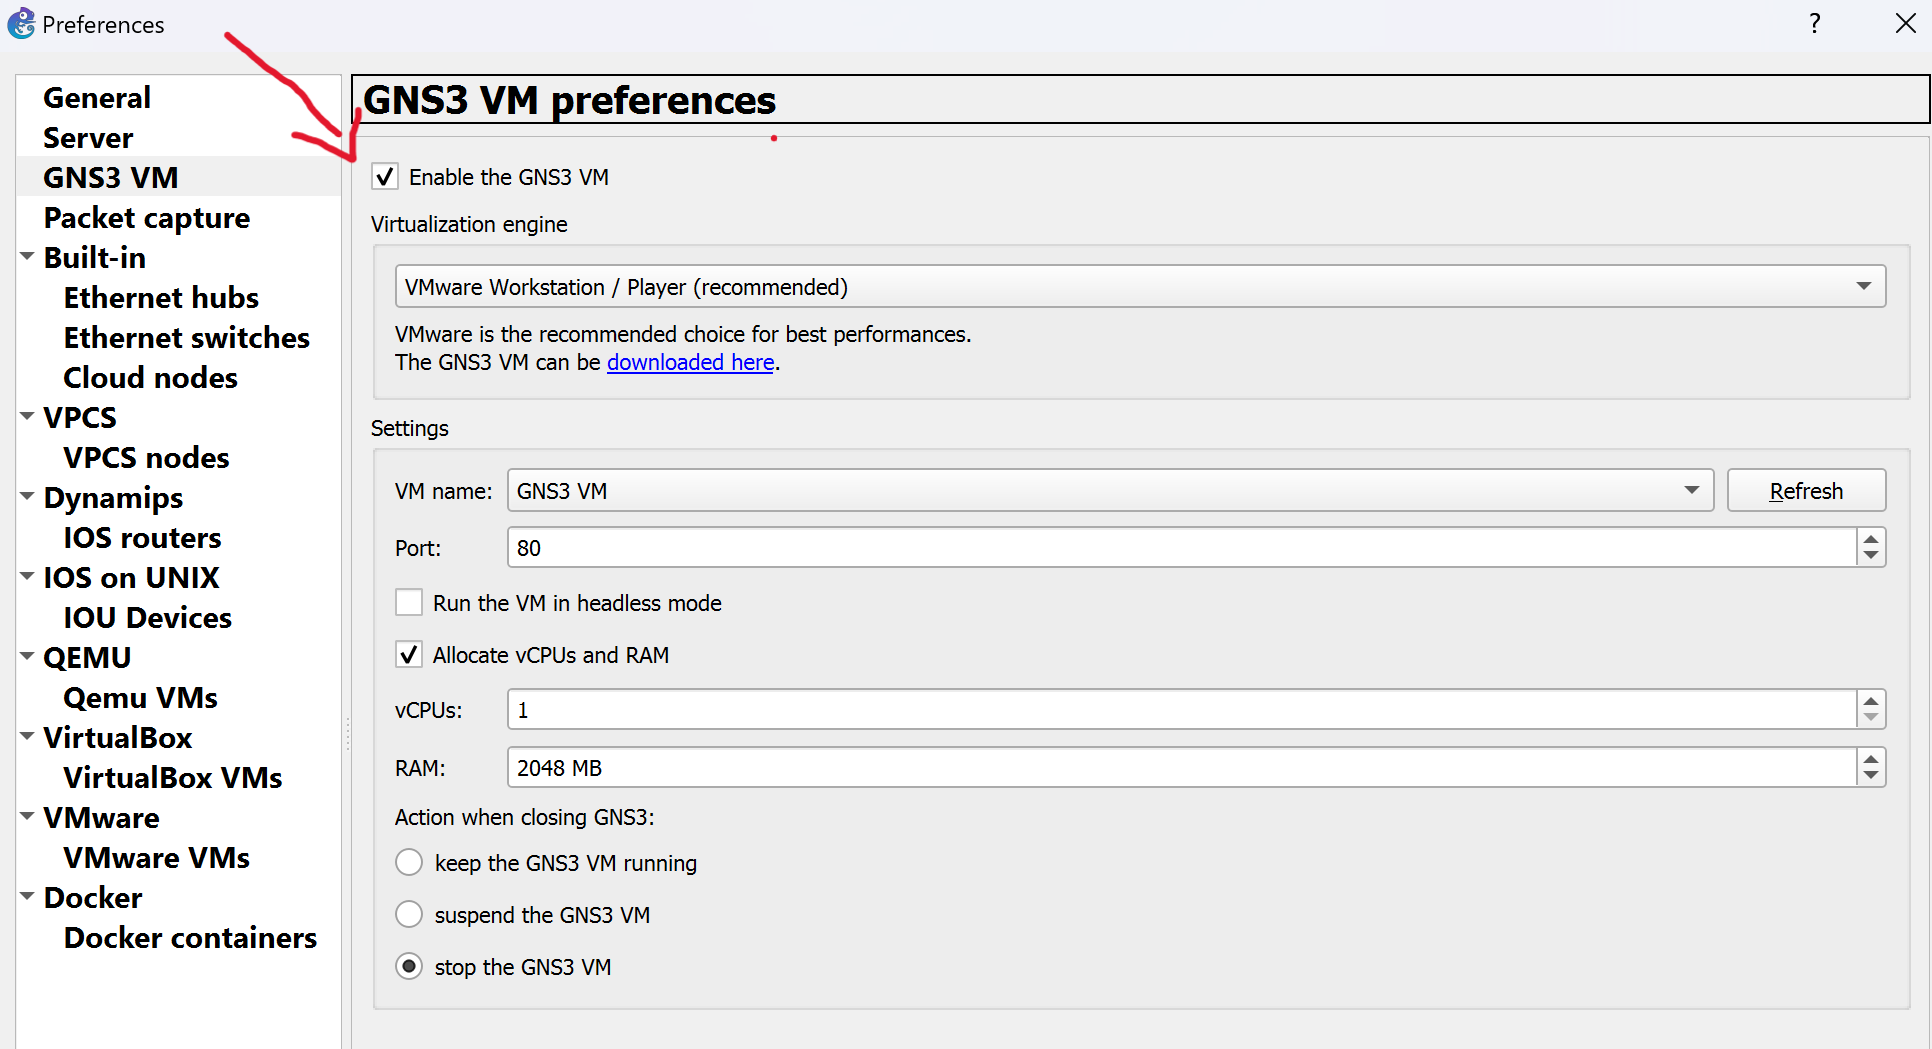
IMPORTANT: Make sure it uses the GNS3 VM as the Server. In the GNS3 client, go to Edit > Preferences.
6. Make sure the GNS3 VM starts
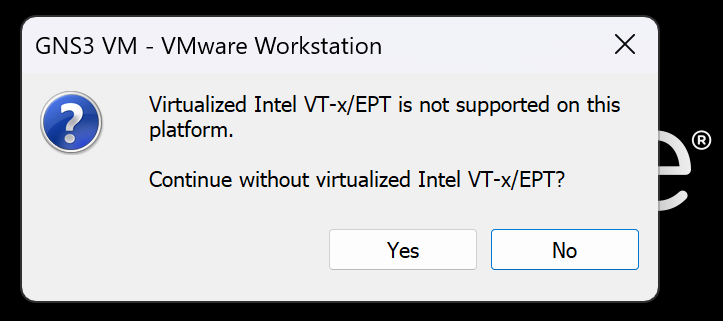
In my case, I got this error message. Clicking Yes or No either way, the VM was not starting.
Virtualized Intel VT-x/EPT is not supported on this platform.
Continue without virtualized Intel VT-x/EPT?
So I tried these 3 things:
- Rebooted my laptop, went into the BIOS menu but I found the couple of features related to virtualization were already enabled. There was one feature called VMD controller which I enabled there but that one seems to be related to Storage and not to Virtualization.
- Went to Turn Windows features on or off and make sure that Hyper-V and all of its child check-boxes are de-selected

I rebooted my laptop, tried again but the same error message persisted.
I then added step number 3.
- I went to Windows Settings, looked for core isolation and disabled Memory Integrity.
That finally, allowed me to start the GNS3 VM in WMWare Workstation.

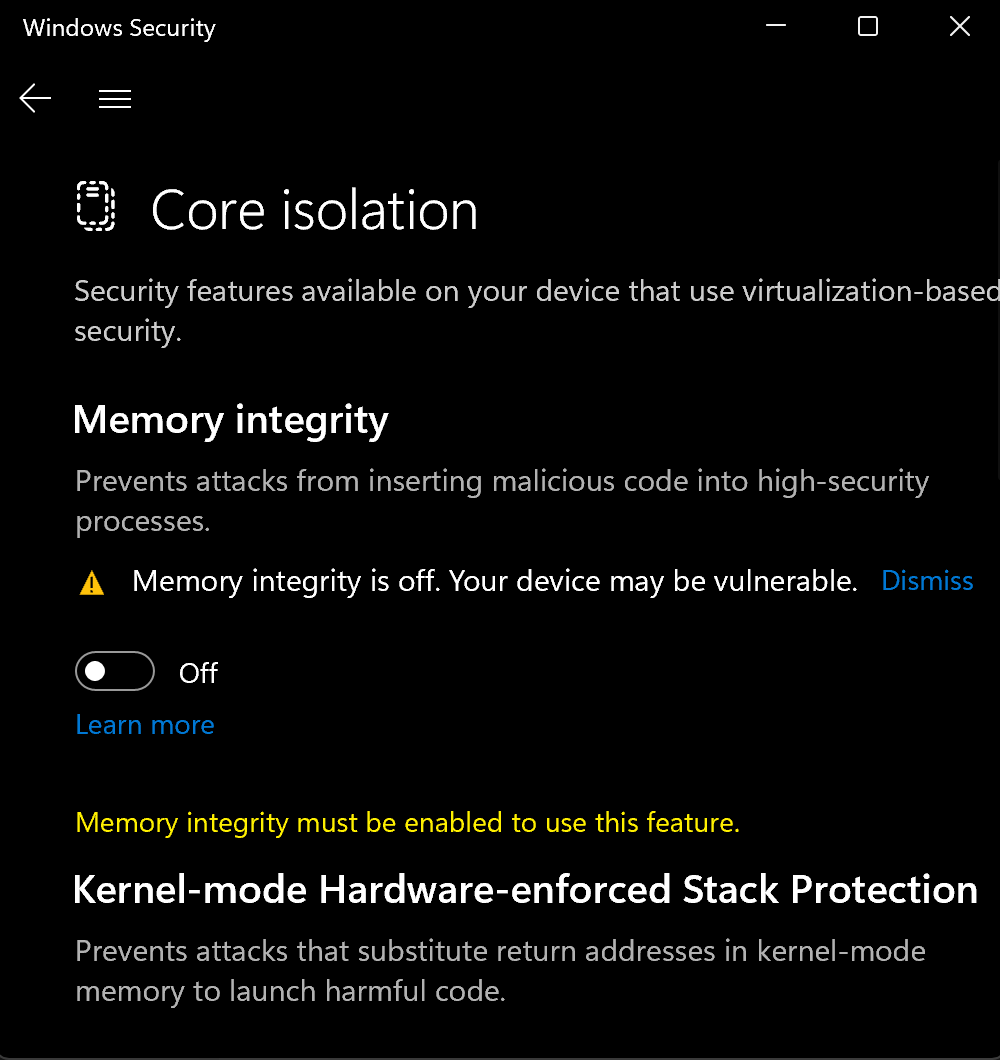
Note the warning message… seems like Windows does not like this to be disabled.
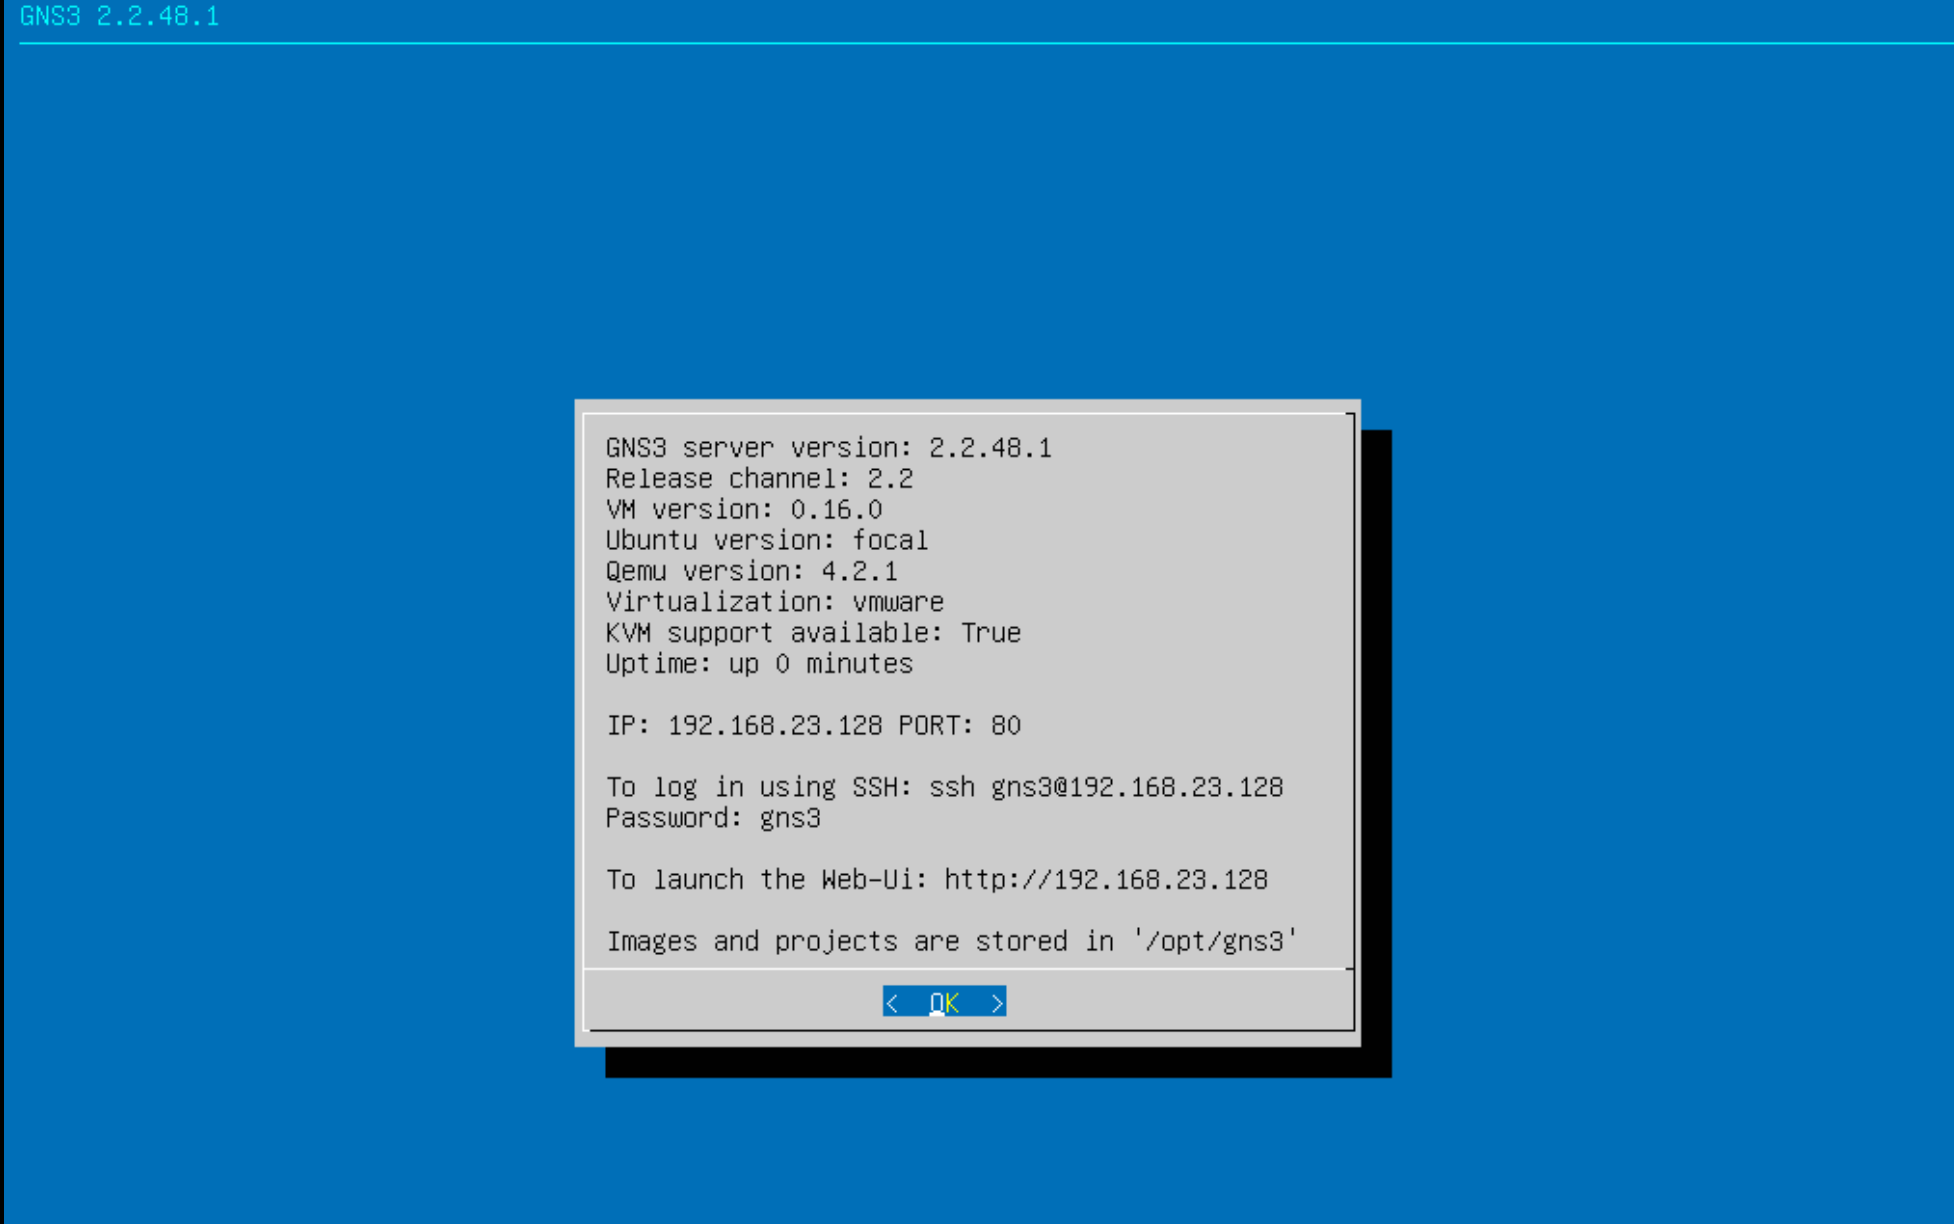
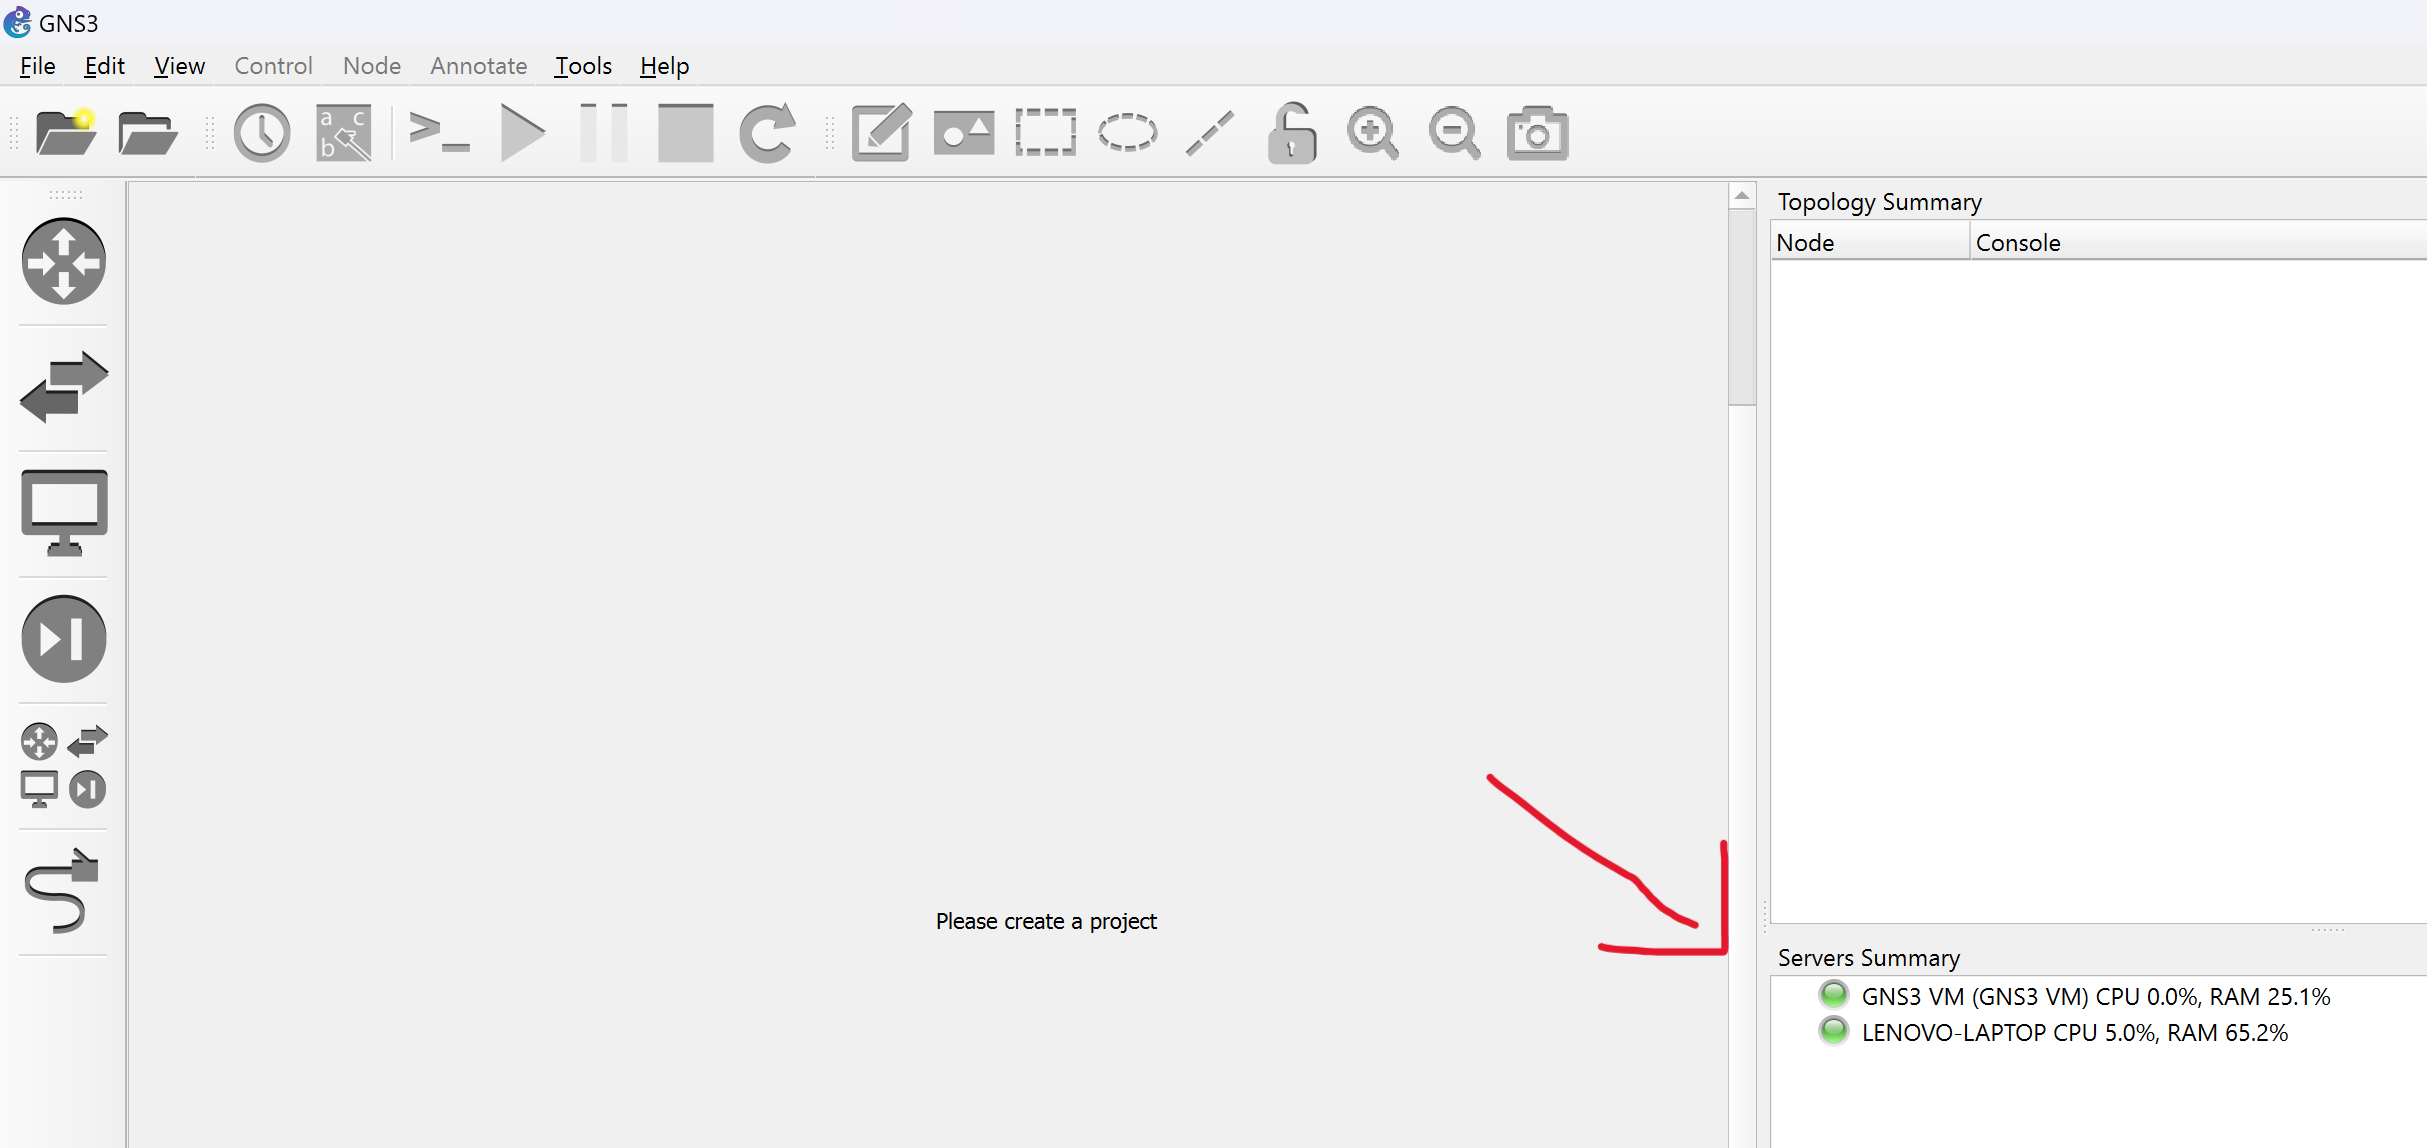
7. The GNS3 client should connect to localhost and to the GNS3 VM
8. Virtual Network Editor
VMnet8 is the network where VMWare VMs can connect to and GNS3 devices can connect as well, making them both be all in the same broadcast domain & IP subnet. It also provides NAT connectivity via the Network Adapter on the Host which is usually used for Internet connectivity. Last but not least it has a built-in DHCP server.
